Safety Guide
How to Secure Safety Eyes (So They Won't Fall Off)
Safety eyes are a top choking hazard if not installed correctly. Follow these rules strictly.
What you need
- Safety eyes (with washers)
- Pliers
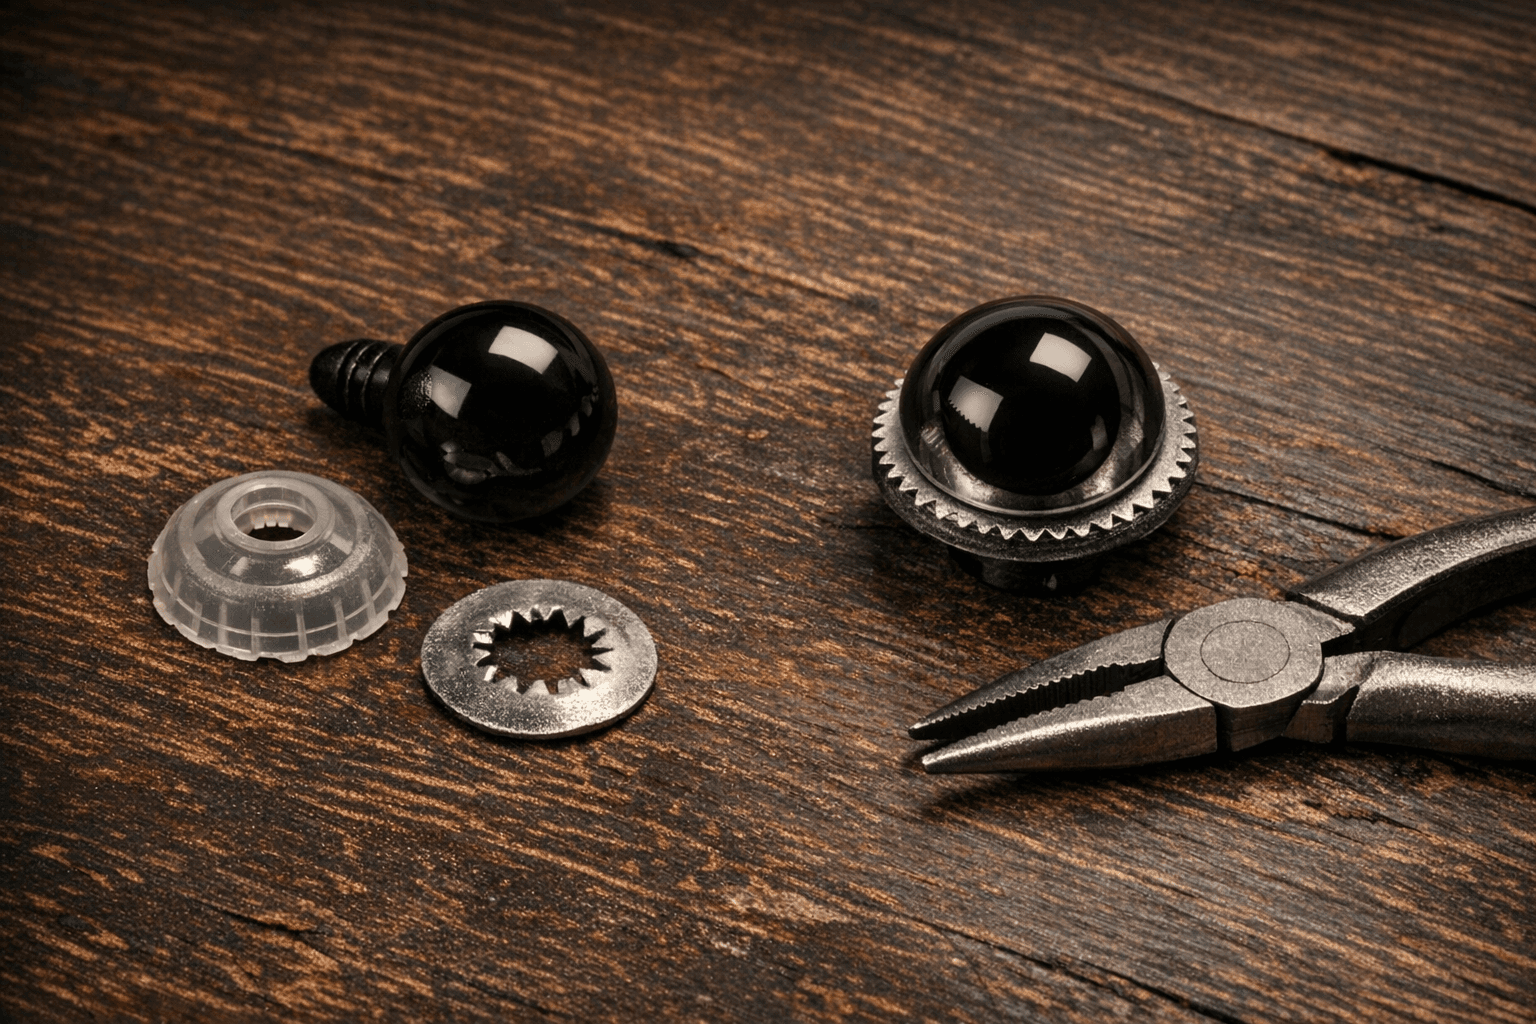
Step-by-step security check
01
Mark your spot first
Before cutting any hole, mark the fabric where you want the eyes using chalk or disappearing ink pen.
Why: If you cut first, you can't fix a misplaced hole. Marking lets you check symmetry.
02
Cut a tiny slit
Use small, sharp scissors (like nail scissors). Cut a slit smaller than the stem of the safety eye.
Why: A tight fit means the washer has something to grip. A loose hole lets the eye pull through.
03
Insert from the front
Push the eye stem through the slit from the right side of the fabric.
Why: The flat front of the eye should sit against the outside of your toy. Reversing this looks wrong and weakens hold.
04
Apply the washer
On the wrong side (inside of the toy), push the metal or plastic washer onto the stem until it clicks flush against the fabric.
Why: The washer must touch fabric, not air. Any gap means the eye can wobble loose.
The “Pull & Push” Test
Pull: Try to pull the eye out from the front. If it moves, it's not secure.
Push: Push the back of the washer hard against the fabric. You should hear a solid “click”.
Why: Audible clicks confirm the washer locked into the stem's groove. No click = no lock. Hand pressure is often too weak to achieve this.
Image placeholder — Pic 2
The Professional Secret
Use pliers to squeeze the washer and stem together.
Why: Pliers give you mechanical advantage for a permanent crimp. You will hear and feel the click much more distinctly than with fingers alone.
05
Double-check before stuffing
Once secure, you should not be able to spin the eye on its axis.
Why: Spinning means the hole is too large. Stuffing pressure will eventually push it through.