Making a Pattern from a Drawing (For Beginners)
You don't need a computer. You need tracing paper, a pencil, and an eraser.
Simplify your drawing
Look at your drawing. Break it into shapes: Head = circle, Ear = oval, Arm = rectangle.
Redraw the toy using only 4–5 simple geometric shapes.
The Grid Method
Draw a checkerboard of squares over your small drawing. Then draw a larger checkerboard on a new paper. Square-by-square, copy whatever lines appear in each small square into the matching large square. This scales up your drawing perfectly without a photocopier.
Draw a 1-inch grid over your simplified drawing. Use a ruler. Make light pencil lines.
On a new paper, draw a 2-inch grid (to scale up to double size).
Copy square by square: Look at the top-left small square. Draw whatever lines you see there into the top-left large square. Move to the next square. Repeat until all squares are copied.
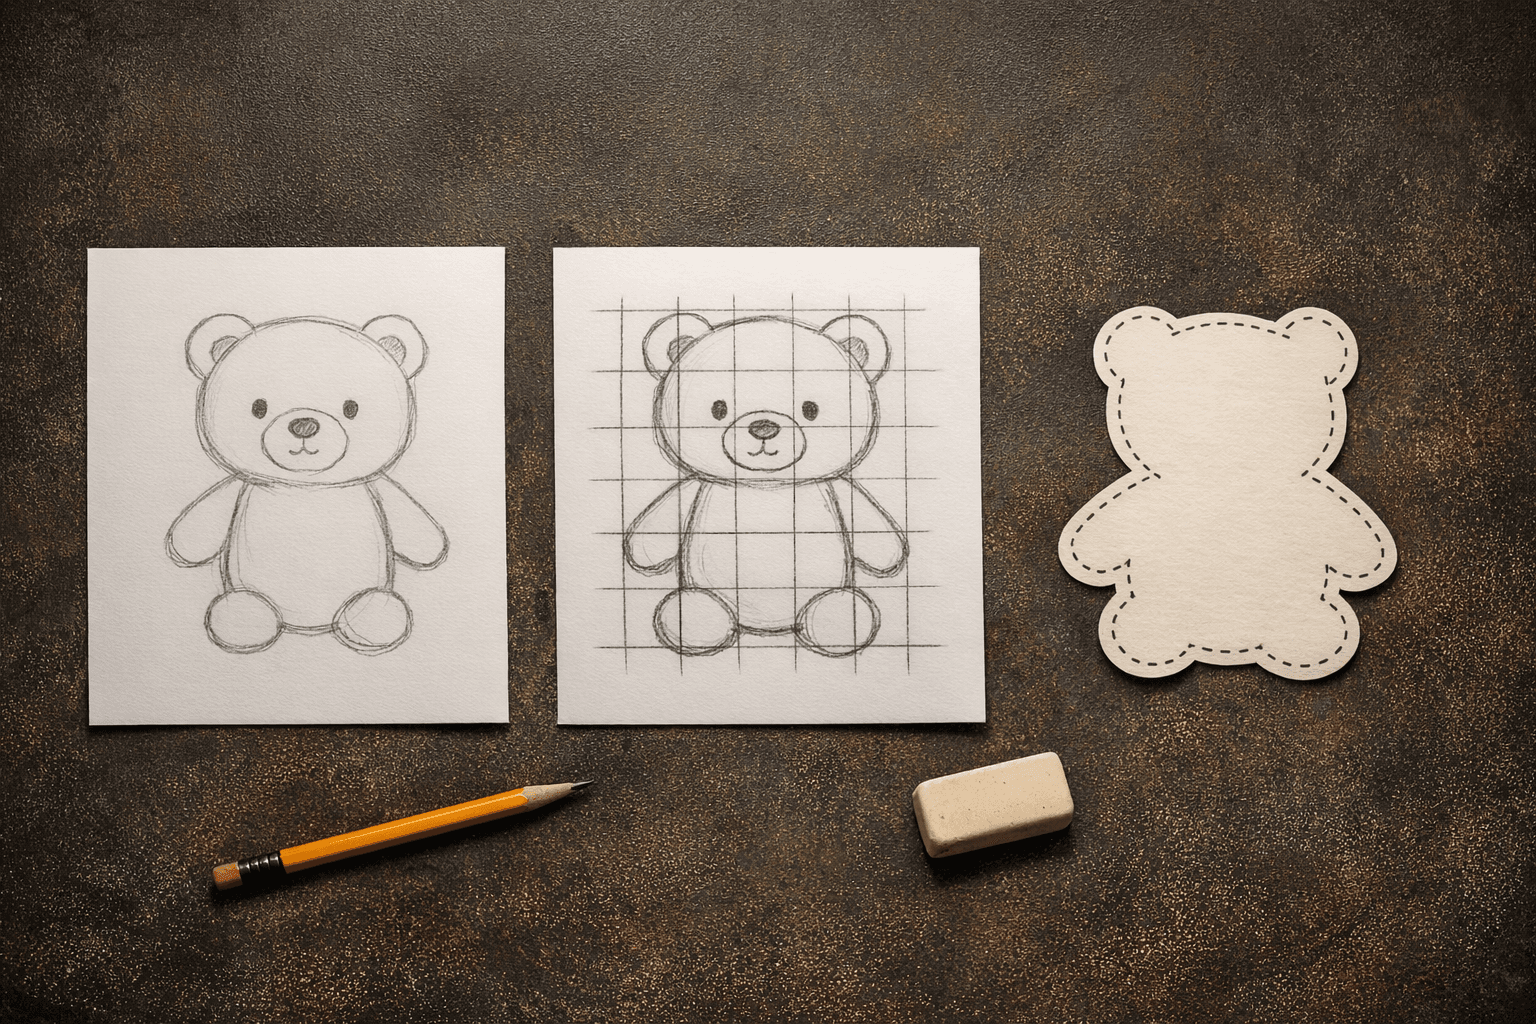
Add seam allowance — The #1 beginner mistake
After you cut out your shape from the grid paper, add 0.5 inches (1.5 cm) all the way around.
Make a prototype (Muslin)
Cut cheap fabric (old bedsheet) using your pattern. Sew it by hand or machine.
See where the prototype is too tight or too loose. Adjust your paper pattern. Then make a second prototype.
Your first pattern will be wrong. That's normal. Plan to make 3 prototypes.